

Easter Egg Prep: The Best Way to Boil & Peel Eggs

Easter is around the corner, which means there’s an eggcellent (hee hee) chance I’ll be making my favorite deviled egg recipe. Every year, I wonder: what’s the best way to get perfectly cooked, easy-to-peel eggs?
I’ve tried a few methods over the years. I loved the simplicity of baking them in the oven, but mine turned brown on the outside—not ideal if you plan to dye them—and they just didn’t seem quite right. My usual go-to has been the classic method: start the eggs in cold water, bring to a boil, let sit, then transfer to a cold bath before peeling. It works okay, but this year I felt like digging deeper.
After some research, I came across this article from Serious Eats. J. Kenji López-Alt had clearly done all the experimenting for me, so I decided to put his method to the test.
Today I tried two different methods to compare and see which one I liked best:
Method One: The Dash Egg Cooker
I got a Dash Egg Cooker last year because I love a good poached egg, and I’ve really enjoyed using it—but I hadn’t tried it for hard-boiled eggs until now.
To use it, you punch a hole in the fat end of each egg using the included tool, fill the cup with water according to the instructions, pour it into the base, cover, and plug it in. When it’s done, it plays a little song and off the eggs go into an ice bath. Super easy!
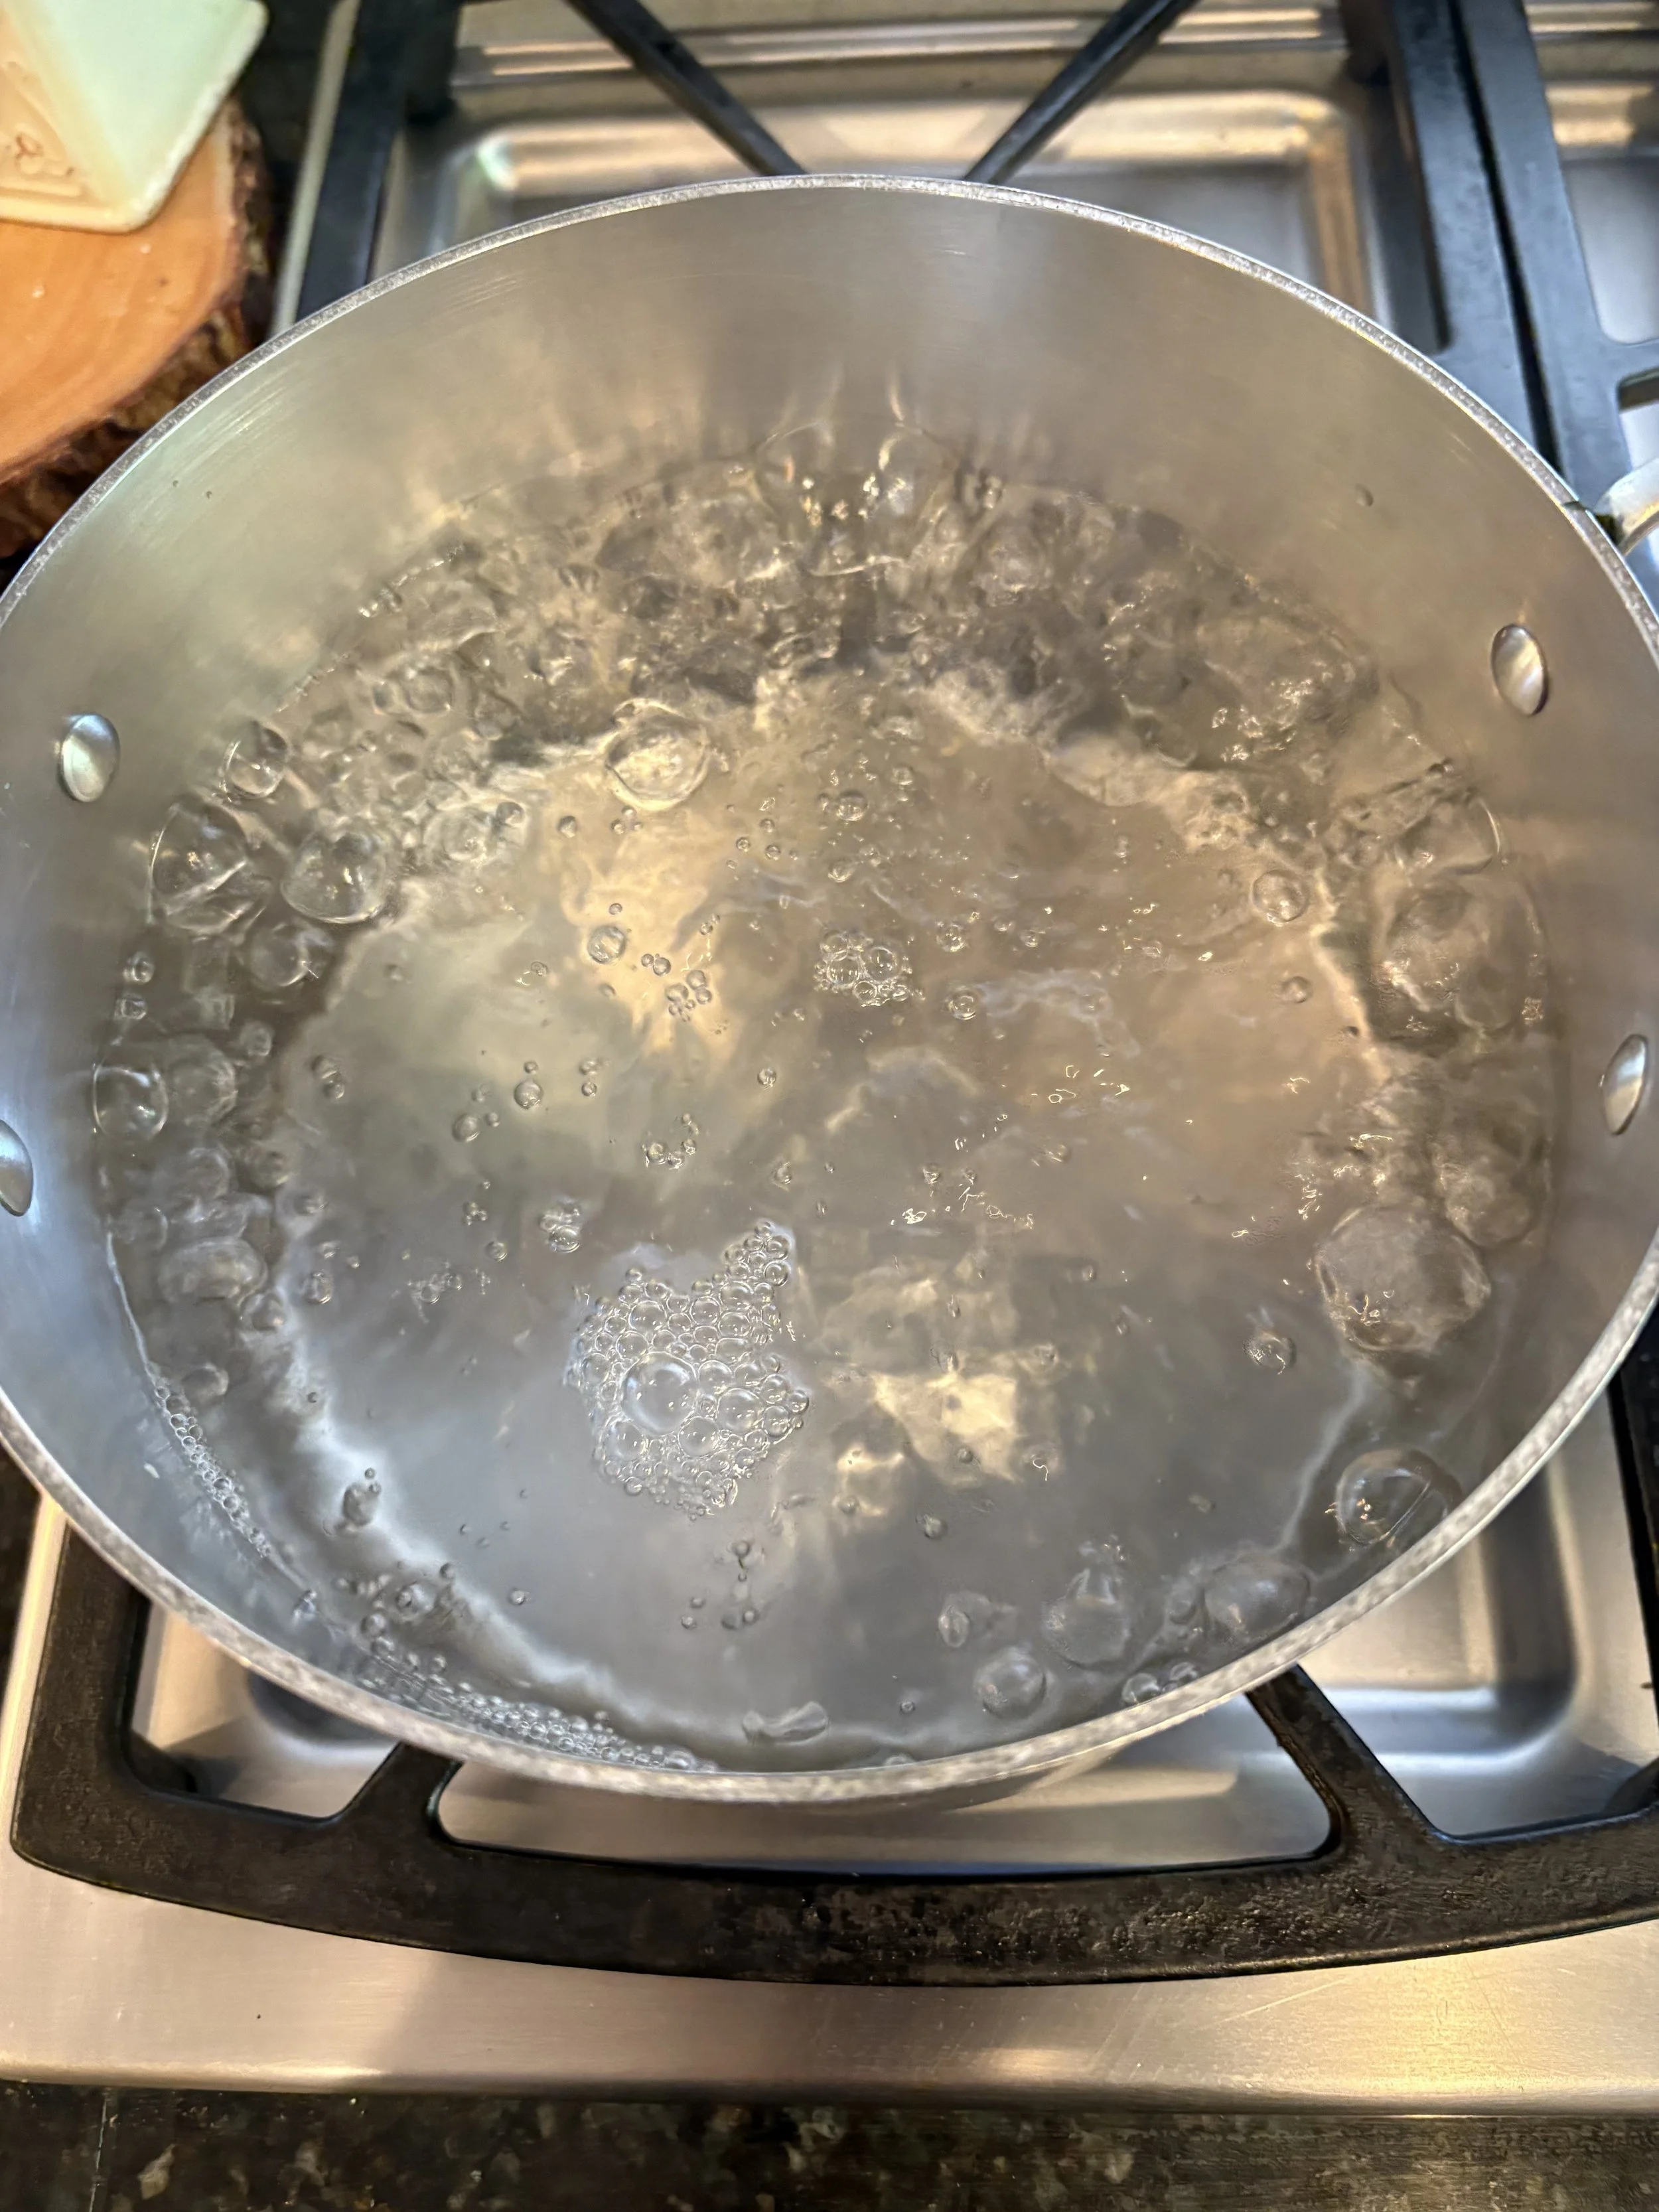
Method Two: The Serious Eats Boil & Steam Method
Bring a pot of water to a boil, then gently lower the eggs into the pot using a steamer basket (this helps prevent cracks). Reduce the heat to a low simmer and cook for 13-15 minutes. Then, transfer immediately to an ice bath for at least 15 minutes. Ideally, refrigerate until you’re ready to peel—Kenji notes that cold eggs peel more easily.
Results
Ease of Use:
Method One, using the Dash Egg Cooker, was more hands-off and didn’t require cleaning a pot—major bonus.
Peeling:
At first, I thought Method Two had the edge, but after peeling a few more, I noticed the Dash eggs actually had fewer dents and looked a bit neater.

Yolks:
With the Dash, you can’t control the exact cook time unless you use a separate timer. The yolks were a little more chalky compared to the boil method. If you like a softer yolk, I’d go with Method Two. That said, the firmer yolks were easier to remove from the whites without making a mess.
UPDATE: I cooked the eggs for about 13 minutes in Method Two, and they turned out harder and easier to take out for deviled eggs!


Big takeaway that works with any method:
Peel your eggs after they’ve cooled completely. If you try to peel them while still slightly warm, it will be much more difficult to get a pretty egg.
The Winner
Honestly—I think it’s a tie! If you have a Dash Egg Cooker, I’d go that route because I loved not having to deal with a pot, and the eggs turned out just as good. But Method Two is also a total win.
Let me know if you give either of these a try! Or if you have your own can’t-fail method, I’d love to hear about it—I’m always up for trying something new.
Stay tuned for my next post, where I put two deviled egg recipes up against each other: my longtime classic vs. a new “loaded” version I found online.
As an Amazon Associate, I earn from qualifying purchases